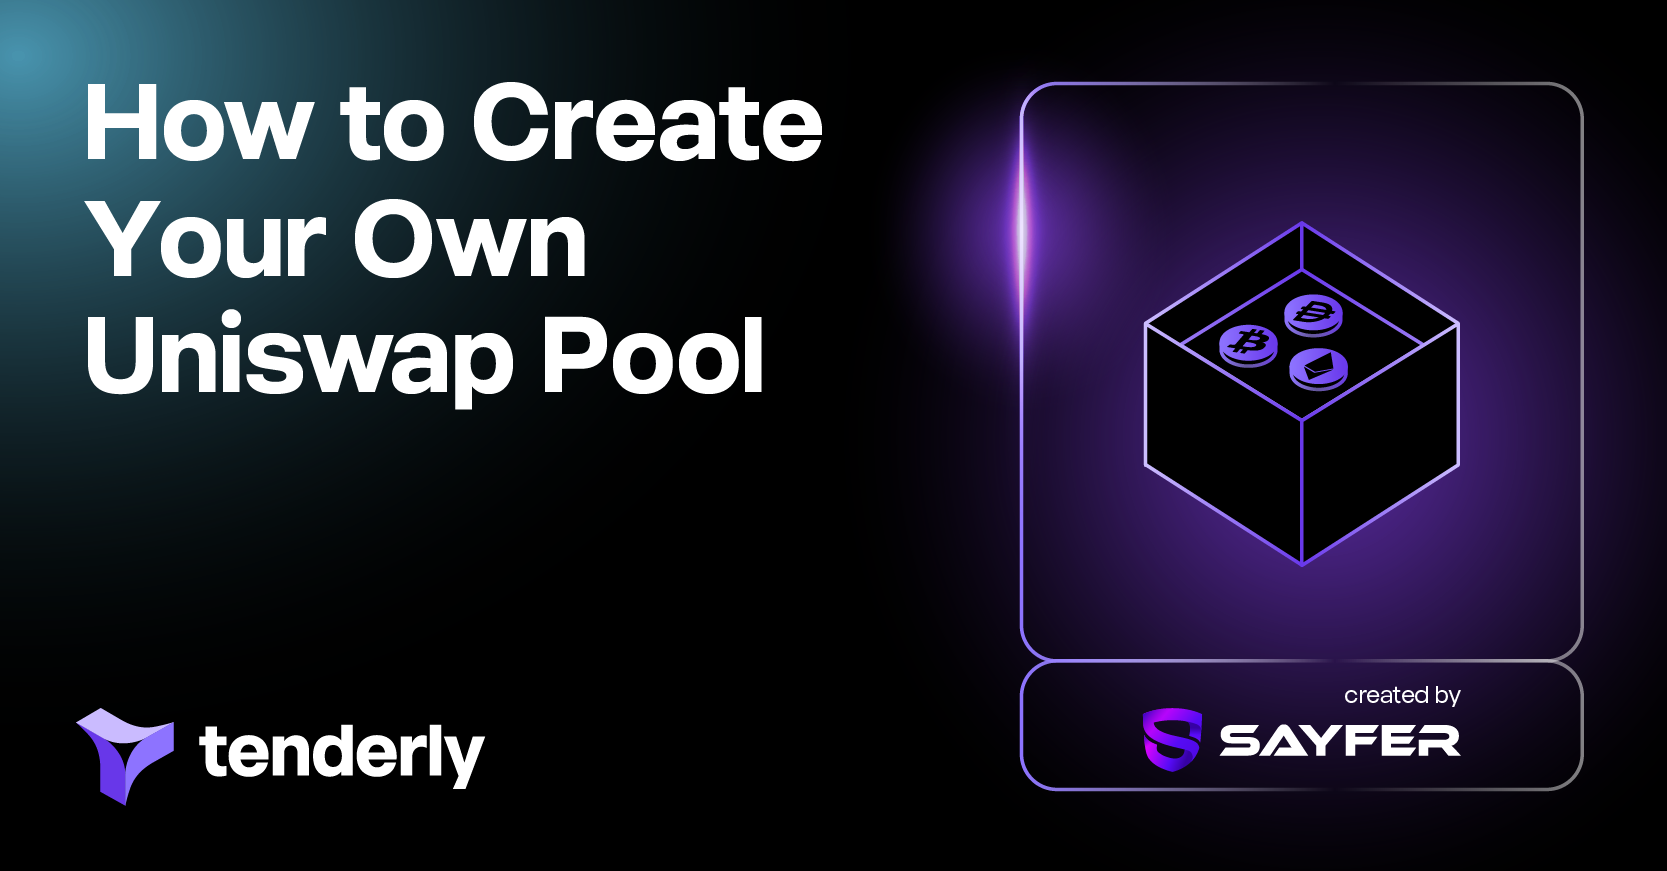
How to Create a Uniswap Pool in Tenderly Sandbox
Learn all about the inner components of Uniswap pools and how they all fit together. Follow a step-by-step explanation to build your own pool in Tenderly Sandbox. Then, try it out yourself and start playing around with code.
In this post
Uniswap is an integral DeFi protocol that has changed the way cryptocurrency exchange works. It has 3 versions, with the last one introducing some important upgrades to the exchange system.
To better understand the protocol, let’s go over the key Uniswap concepts and relevant smart contracts. Then, we’ll demonstrate how to use those contracts to deploy your own Uniswap pool using a practical example in Tenderly Sandbox.
By the end of the article, you’ll have successfully deployed a Uniswap pool and minted one liquidity position. And, hopefully, you’ll gain a deeper understanding of how to work with Uniswap smart contracts.
What is Uniswap?
Uniswap is the leading decentralized exchange (DEX) operating on the Ethereum blockchain. DEX allows exchanging cryptocurrencies in a completely decentralized way, without using an intermediary. Prior to Uniswap, cryptocurrency trading was dominated solely by centralized exchanges (CEX) such as Binance or Coinbase.
Uniswap was the first protocol to take DEX to the next level with an automated market maker (AMM). The AMM eliminates the need for a peer to make a trade as is the case with traditional order books in today’s stock market. Instead, the AMM algorithm gathers liquidity deposited by liquidity providers, who place their own assets, and enables traders to use it.
How does the Uniswap protocol work?
With Uniswap, a trader can trade their ERC-20 tokens through pools. These pools consist of token pairs (e.g. USDT/WBTC) and a pool fee (0.05%, 0.30%, or 1%). A pool collects a small amount of this fee to support the system. You can create and deploy your own pools, consisting of the pairs you pick and the pool fee you choose.
After you create a pool, it needs liquidity so traders can start using it. Anyone can deposit their funds into a pool and become a liquidity provider (LP). The V3 upgrade introduced the concept of Active Liquidity to pools. It allows LPs to choose a specific price range when their liquidity can be traded from the given pool.
When the price is within the specified range, the position is active: trading is possible and LPs are earning the fees. This way, LPs can optimize ROI for the liquidity they provide. Additionally, traders have access to higher liquidity available around the mid-price, unlike when the capital is distributed on wider intervals, such as (0, ∞).

The process of adding liquidity to a pool within a given price range is called “minting” or “minting a position”. It’s possible to mint different positions across several pools varying in the price range. When minting a position, you specify a price range by using ticks that act as liquidity position boundaries:
- The lower tick sets the bottom end of the range.
- The upper tick sets the top end of the range.
How to deploy your own pool
In this tutorial, we’re using Tenderly Sandbox to compile and interactively showcase how to create a liquidity pool. Sandbox allows you to deploy and run your smart contracts on a local fork of the Mainnet or any of its testnets. You can have your contracts in a Solidity file and run the contracts from a JavaScript file in the same place.
You can follow the step-by-step explanation below and find the complete code in this Sandbox and take a look right away:
The entire code is in the Sandbox’s solidity file. Hit the run button and then explore the transactions involved in the entire process. Alternatively, you can copy the code to the environment you want to run it in.
Overview of the solution
Before we dig into the actual code, here’s a high-level overview of the solution.
We’ll write JavaScript code that will deploy a pool and mint one position using the smart contracts.
On the Solidity side, we have to implement several contracts that take part in pool creation. In this tutorial, we’ll focus primarily on the role, behavior, and usage of these contracts, less on deep DeFi topics.
We’ll have to write the following contracts:
- UniswapV3Pool: This contract represents a pool and allows performing operations on the pool: minting, burning, collecting, and swapping positions.
- UniswapV3PoolDeployer: This is an auxiliary contract that deploys a pool.
- UniswapV3Factory: This auxiliary contract deploys the pool using the UniswapV3PoolDeployer if the pool-creation parameters are adequate.
- UniswapV3Manager: This contract is used to coordinate position minting (adding the liquidity into the pool for a particular range). The UniswapV3Pool and this contract interact using internal transactions and callbacks.
Besides core contracts, there are also higher-level abstractions such as Uniswap periphery contracts and the Uniswap SDK, but they’re outside the scope of this tutorial.
1. Deploy UniswapV3Manager and UniswapV3Factory
First, deploy the UniswapV3Factory and UniswapV3Manager contracts. Next, create a contract factory for the UniswapV3Pool contract so you can interact with the pool itself later on.

2. Deploy a pool
To create a new pool, you can use the createPool function from the custom UniswapV3Factory you just deployed.

Follow these steps to deploy your pool in Sandbox:
- Call the
createPoolfunction from UniswapV3Factory with two token addresses and the pool fee as parameters. In this example, we’re going with DAI and WBTC. - Call the
getPoolfunction to retrieve the new pool’s address. - Attach the pool contract to the
uniswapPoolAddressand initialize it with thesqrtPriceX9parameter so you can interact with that contract. For this example, we’ll use the parameter found in the real DAI/WBTC/0,3% pool on the Mainnet. For more information on the parameter, learn how to calculate sqrtPriceX96.

Once you run the Sandbox, you’ll get the following console output:

Tenderly Sandbox compiles and runs the script while the logs show everything’s working properly. Congrats, you have initialized a new pool! 🎉 You can now use it to mint positions with different price ranges.
3. Add liquidity/mint a new position
Next, to become a liquidity provider, add liquidity to your pool using the mint function from UniswapV3Pool. You need to implement a custom UniswapV3Manager, which will call the pool’s mint function. You also need to kick off the position minting process from JavaScript by calling the custom UniswapV3Manager.
Here’s a sequence-ish diagram with a high-level overview of the interaction between the main components.

Now, let’s go over each component in detail.
UniswapV3Pool:
Here’s what the UniswapV3Pool mint function looks like:

As seen in line 629, the pool’s mint function requires a callback. This means it will call a function from the calling contract (msg.sender) with the following signature:
uniswapV3MintCallback(amount0, amount1, data)
Within the callback function, the user needs to transfer the tokens to the pool. The mint function checks the pool balances right after the callback is called to validate that the token balances are changed correctly. If transfers succeed, a new position is successfully minted.
Let’s see how to implement this interaction in the custom UniswapV3Manager.
UniswapV3Manager:
First, call the pool’s mint function from the custom manager contract:

The callback function in your custom UniswapV3Manager (uniswapV3MintCallback) executes the transfer for each token. The payer is being decoded from the data parameter, so it needs to be encoded in the calling JavaScript code.

JavaScript:
For the transfers to happen, you first need to approve UniswapV3Manager to transfer a certain amount of both tokens from your JavaScript code. Once approved, the UniswapV3Manager contract will execute the transfers from the user to the pool for each ERC-20 token.

Finally, you can call the custom `executeMint` function to provide liquidity to traders.
The mint function takes five parameters: the pool’s address, the lower tick, the upper tick, the amount of liquidity to mint, and the extra data (any data that should be passed through to the callback).
In this tutorial, we’ll encode only the user’s address and pass it as the data parameter. This is the user EOA, whose assets (DAI and WBTC) are going into the pool. As seen, the custom manager contract must be able to transfer the tokens to the pool on behalf of the user EOA. The transfer should happen when the pool invokes the callback function during the minting process. If all goes well, the pool should have the DAI and WBTC balance.

You get the following output once you run the complete script:

The liquidity addition worked! You can see that a transfer occurred from the user’s balance to the pool’s balance. The transferred amount is the result of a calculation that depends on the price range you choose and the liquidity amount you want to mint.
Create a liquidity pool on Uniswap
Once you create your own Uniswap pool, you can provide liquidity for swappers from your liquidity providers. You can even take this to a whole new level.
Simply use Tenderly Sandbox to play around with the code and experiment with your own ideas. Add more liquidity pools, try different fees, or even use your pool as an oracle. Also, you can even create a free Tenderly account to analyze gas usage, inspect the code in detail, or even simulate different transaction scenarios. The possibilities are endless, so start exploring them!
About the author
Thanks to Sayfer’s research team for a deep dive into the inner components of Uniswap. For more information about Uniswap or other Web3 research, explore the Sayfer blog and discover interesting topics.
Subscribe to our newsletter