"Coming together is a beginning. Keeping together is progress. Inviting people to your Tenderly project is success."
I might have misquoted Henry Ford, but just a little bit. Nonetheless, I'm here today to show you how to use Tenderly to boost your team's productivity while developing Blockchain apps. By the end of this article, we'll see how you and your team can be more confident that your Ethereum DApp and Smart Contracts are working as expected.
Connecting your project with Tenderly
First things first, we need to get your Smart Contracts into Tenderly to use all of the timesaving features like the Visual Debugger, Gas Profiler, Alerts, and more.
There are a couple of ways we can achieve this: we can use the Tenderly CLI to push contracts to a project, or we can verify our Smart Contracts on Etherscan and then paste in the address into Tenderly. I'm going to go with the first approach.
I already have the CLI installed locally, but if you don't have it already, it's effortless to set up. Once you have it installed, run tenderly login.
The next step is to go into your project directory and run tenderly init. As I'm using the Tennis Match example from a previous article, I'm going to pick Create new project and write Tennis Match.
$ tenderly init
✔ Create new project
✔ Project: Tennis Match
Project successfully initialized. You can change the project information by editing the tenderly.yaml file or by rerunning tenderly init with the --re-init flag.
That's it! Your project is all set up, and you can push it for the first time to Tenderly.
Pushing your Smart Contracts to Tenderly
In order for Tenderly to monitor your Smart Contracts in real-time, you need to push them to your dashboard. Pushing your Smart Contracts is as easy as running the tenderly push command. Let's try it now:
$ tenderly push
Setting up your project...
Analyzing Truffle configuration...

Pushing Smart Contracts for project: tennis-match
We have detected the following Smart Contracts:
• Migrations
• TennisMatch

Successfully pushed Smart Contracts for project tennis-match. You can view your contracts at https://dashboard.tenderly.dev/Habic/tennis-match/contracts

All Smart Contracts successfully pushed.
Now when you open your Tenderly dashboard, you'll see your newly created project, and your Smart Contracts added!
1. The transactions screen
When you enter your project, the first thing that you see is the Transactions screen.
Here you can find the list of all of the transactions that include any of your Smart Contracts. Yes, that means both direct and internal transactions.
We also backfill all of the transactions that happened before you added your Smart Contracts to Tenderly.
2. Filtering Transactions
What's better than having all transactions in one place? Filtering through them at the speed of light! Ok, maybe not the speed of light, but faster than anything else for sure.
As you can see, you can filter by multiple properties:
- Transaction Status - All/Success/Failed
- Transaction Type - All/Internal/Direct
- Contracts - Select which contracts must be present in the transaction
- Network - Specify the network if you have contracts deployed to multiple networks
- Tag - Filter by a specific tag that you provided during the tenderly push command (more on this later)
Having filtering this precise and fast is important when you need to pinpoint that specific transaction amongst thousands of them. Another example that comes to mind is finding internal transactions sent to your Smart Contracts that failed. This way, you can see if someone is trying to abuse your contract's logic or if your code is failing and someone depends on it.
Transaction details, Debugging, Gas Profiling and so much more
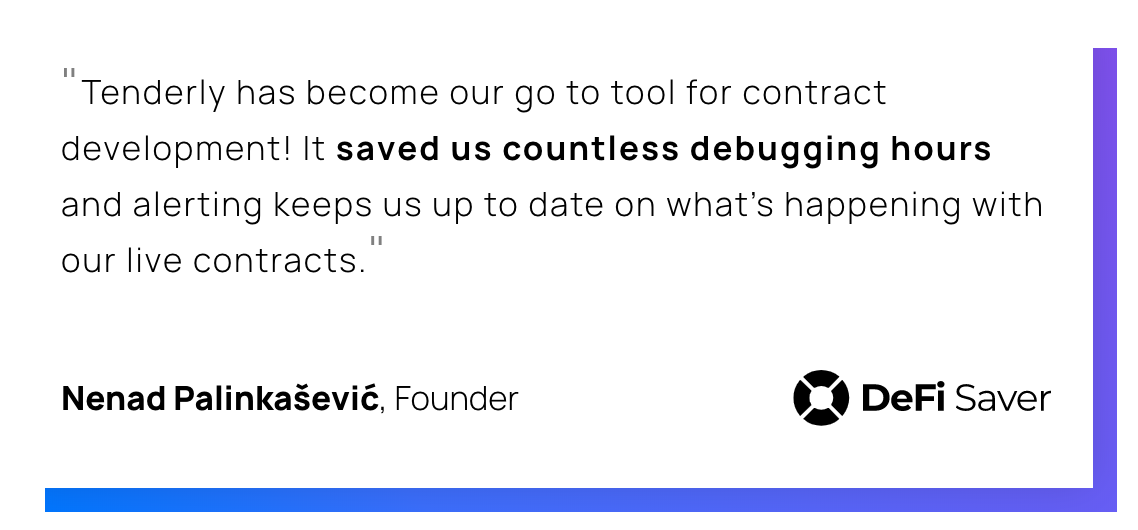
The next thing we're going to cover is the Transaction details and the accompanying suite of tools: a Swiss Army Knife of the Ethereum ecosystem. Why do I call it the Swiss Army Knife you might ask yourself? I did that because there is no other tool out there that saves so much time. Don't take my word for it, here are some of the things people who already use Tenderly say about the tool.
The Transaction suite consists of several useful and timesaving tools: Execution Overview, Stack Traces, Events/Logs, Contracts, Visual Debugger, State Changes, and the Gas Profiler. We have a lot to cover, so let's get started!
3. Execution Overview
The first tool we are covering is the Execution Overview. Think of it as the bird's-eye view of the transaction. At a glance, you can see the exact code paths of all of the Smart Contracts that participated in a given transaction. You can open the transaction from the image above by clicking here.
When you click on a function name, you can see the context in which that function was called.
But let's say you want to dig deeper. You can do that by clicking the View in Debugger button next to the function name. Let's click on it now and go over the next tool.
4. Stack Traces
Stack traces are a very import part of any developer's workflow both locally, but in production as well. That's why Stack traces were one of the first features we released, first as a CLI tool and later as part of our platform.
The stack trace above shows the exact line of code where the transaction failed. From there, you can click Debug Error and find the issue in no time! How convenient!
5. Visual Debugger
The Visual Debugger is one of the tools people love the most. Instead of wasting countless hours debugging transactions, you can use the Visual Debugger so you can focus more on buidling and less on scratching your head.
If you followed along and clicked View in Debugger, you're at the right place, and if not, you can click here.
Just like you would expect from a debugger in other modern languages, you have the current call stack at the left-hand side, Jump Up/Previous/Next stack navigation controls, and most importantly, Input, Output, Local and State variables to the right.
The level of detail present here doesn't exist anywhere else and reduces development time by orders of magnitude.
6. Events and Logs
Moving on from the Visual Debugger, we have the Events/Logs tools. Smart Contract Events are the de-facto way of notifying interested parties that some event has occurred. The Logs themselves also contain valuable information in addition to the information that a particular event has occurred.
When we open the Events/Logs tool, we can see all of the Logs that were emitted during a transaction. What is even better is that the event parameters are already decoded and shown in a human-readable format. No more time wasted decoding hex strings to see what happened. Time: saved!
Oh, did I mention that you can filter the Events by name and Smart Contract?
7. State Changes
The State Changes tool is something I would love I had when I started Solidity development. As Smart Contracts are getting more and more complex, the states of those smart contracts are getting more complex as well.
Here we see that not only does Tenderly show the state variables that were changed, but also all of them are decoded for your convenience. And yes, structures are decoded correctly as well.
The image above shows the recently passed MakerDAO Debt Ceiling raise. You can see that transaction, and it's intricacies here.
8. Gas Profiler
The last, but definitely not the least, is my favorite tool: the Gas Profiler. The profiler doesn't save you just time, but it literally saves you money (#ETHIsMoney).
The chart you see in the image above is called a flame graph. It is a common way to show usage of a resource like a CPU. The example above is a Kyber Network transaction, which you can find here.
Each line shows the sum cost of the lines beneath it. If you click on any of the lines (functions), you can see a detailed breakdown of the gas cost of the functions that were invoked.
You can finally see which functions are using the most gas and pick the right parts of your code to optimize.
9. Getting proactive with alerts
Everything we saw so far saves a lot of time by using the Tenderly dashboard. Let's take things one step further: by setting up alerts, you can be confident that your Smart Contract and DApps are working as expected.
Setting up an alert is as easy as 1-2-3. You need to pick three things:
- Rule Type - which type of alert you want to use
- Alert Target - smart contracts which can trigger this alert
- Destinations - destinations where you want to get notified when an alert is triggered
Alert Type
There are 7 alert types available at the time of this writing:
- Successful Transaction
- Failed Transaction
- Function Call
- Event/Log Emitted
- Event Parameter
- Whitelisted Callers
- Blacklisted Callers
The image below explains each one of them.
For this article, I'll use the Event Parameter alert type. Let's set it up together.
Alert Target
As the alert target, I'm using the KyberNetworkProxy. Next up, we need to pick the event and the parameter we want to use for this alert.
Note that you can also target your Smart Contracts by network or project as well. This granulation is very useful for the Failed Transaction alert type.
I'm going to pick the ExecuteTrade event and the actualSrcAmount parameter. Finally, I'm going to select the >= (Greater than or equal) comparator and input 1000 as the comparison value.
Destinations
Your alert isn't useful if there isn't a way for you to get notified the moment it is triggered. Tenderly supports e-mail and Slack as destinations for you to receive alert notifications, with Discord and Telegram support coming soon.
I'm going to use our #tenderly-alerts channel on Slack to receive the alerts we've set up in the previous steps.
Voilà
As you can see, the moment the event was emitted on-chain, Tenderly has sent us an alert in real-time. Having these notifications set up for your project gives you a great reason for a good night's sleep, instead of worrying if your Smart Contracts are working as expected.
10. Sharing is caring
The random (mis)quote at the beginning of the article isn't so random after all. Now that you've set up your project with Tenderly, you can invite your teammates to join in on the fun.
To invite someone to your project, go to the Collaborators tab and click Add Collaborator.
There you'll be able to pick the permissions the newly added Collaborator has for this project.
After you click Add Collaborator, an e-mail with the invitation is sent immediately.
And don't worry, if your friend doesn't have a Tenderly account, they will be on-boarded and added to your project in less then a minute!
Wrapping up
Whew, we covered a lot of ground today:
- We've added our Smart Contracts to Tenderly via the CLI
- We used all of the tools in the Transaction suite
- We've created alerts so we can be confident that our Smart Contracts are working as expected
- We shared our project with a teammate so we can collaborate and be more efficient by using Tenderly
All of this combined saves countless hours during development, deployment, and maintenance of your Smart Contracts and DApps. So what are you waiting for?
P. S. For discussions and questions, you can go to this Reddit thread
