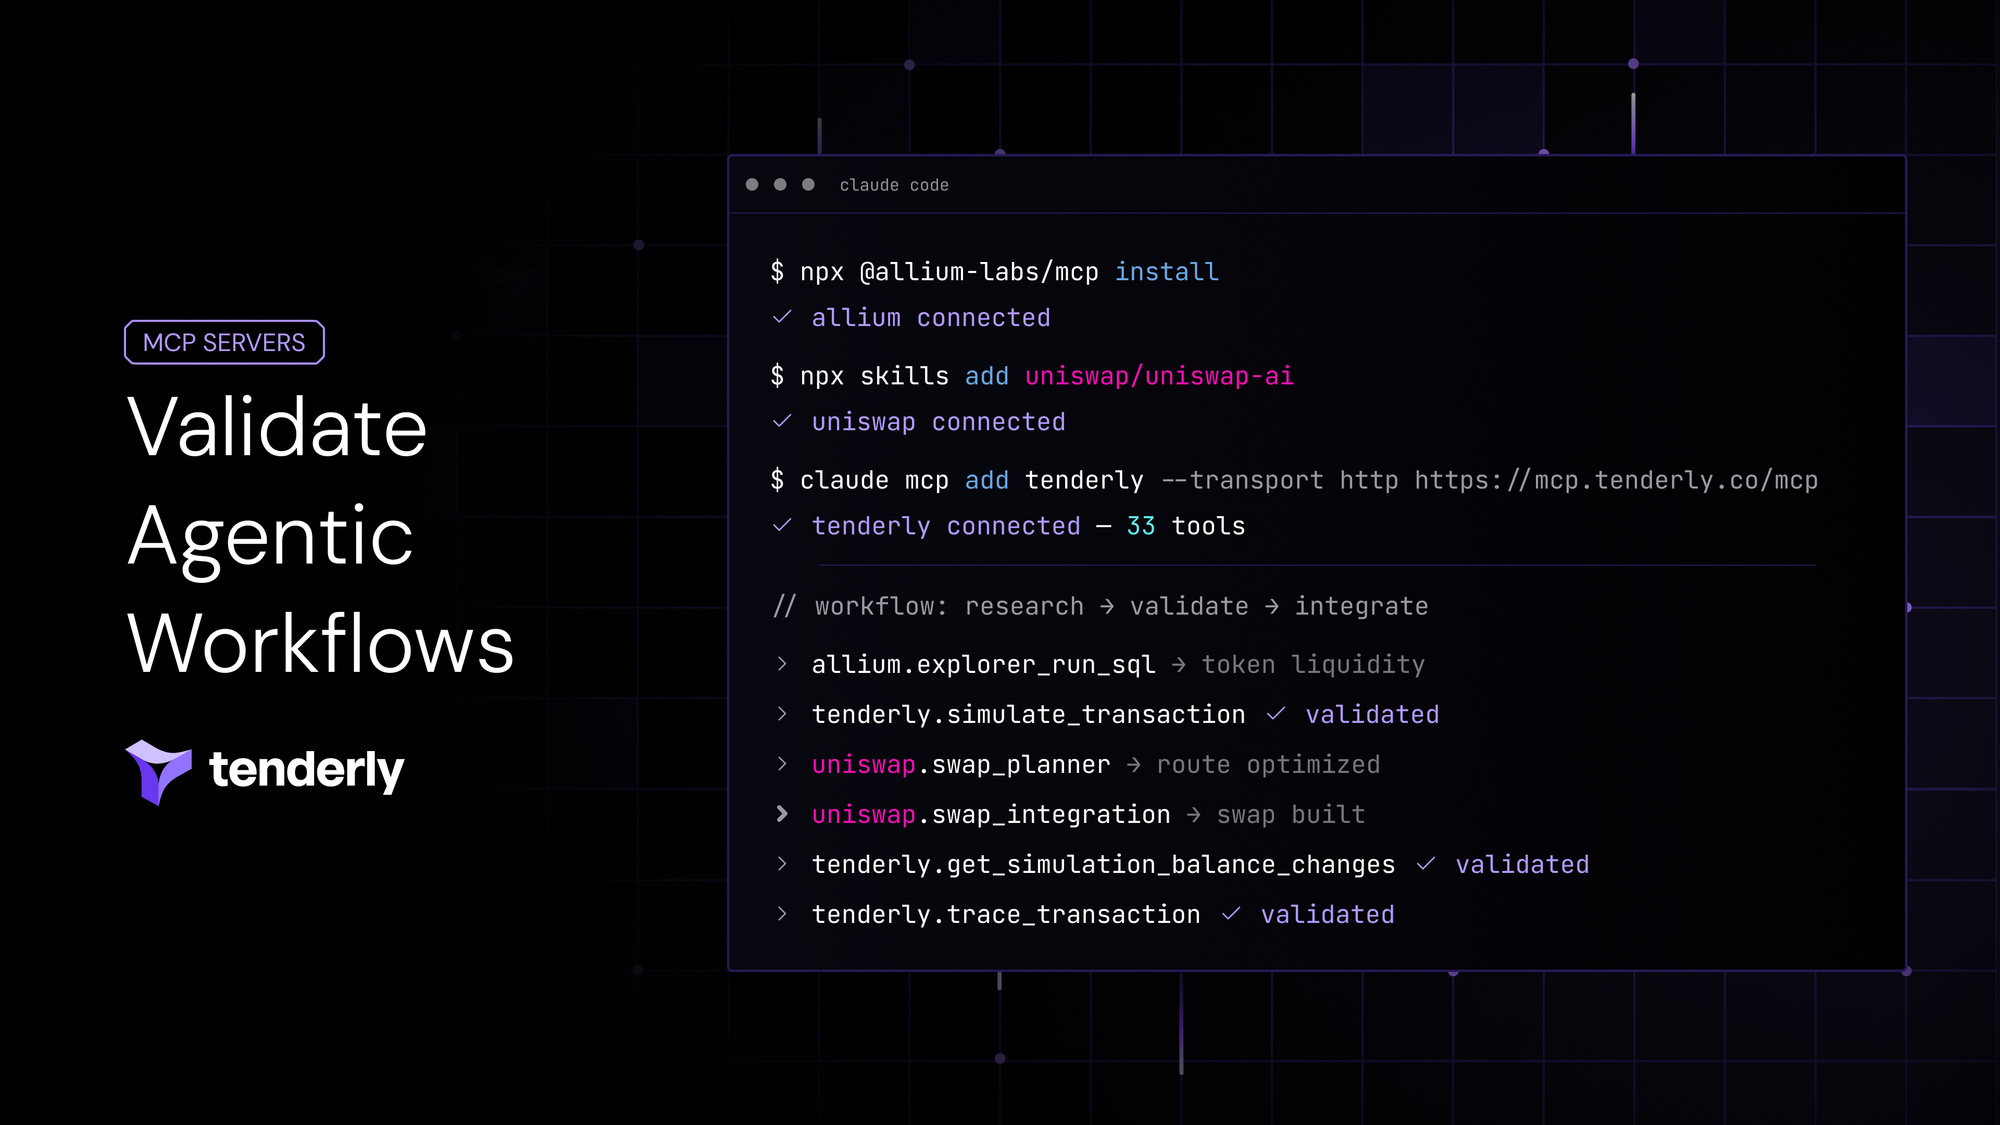
Virtual TestNets are a single piece of development infrastructure that replaces both local nodes and public testnets. Designed to fit your development workflows, Virtual TestNets can integrate into your CI pipeline and existing frameworks, opening new testing capabilities while saving you significant resources.
With a simple GitHub Action, you can set up your CI infrastructure on Virtual TestNets integrated with Hardhat. This way, you can automate deployments, test end-to-end integrations, and speed up the entire CI process.
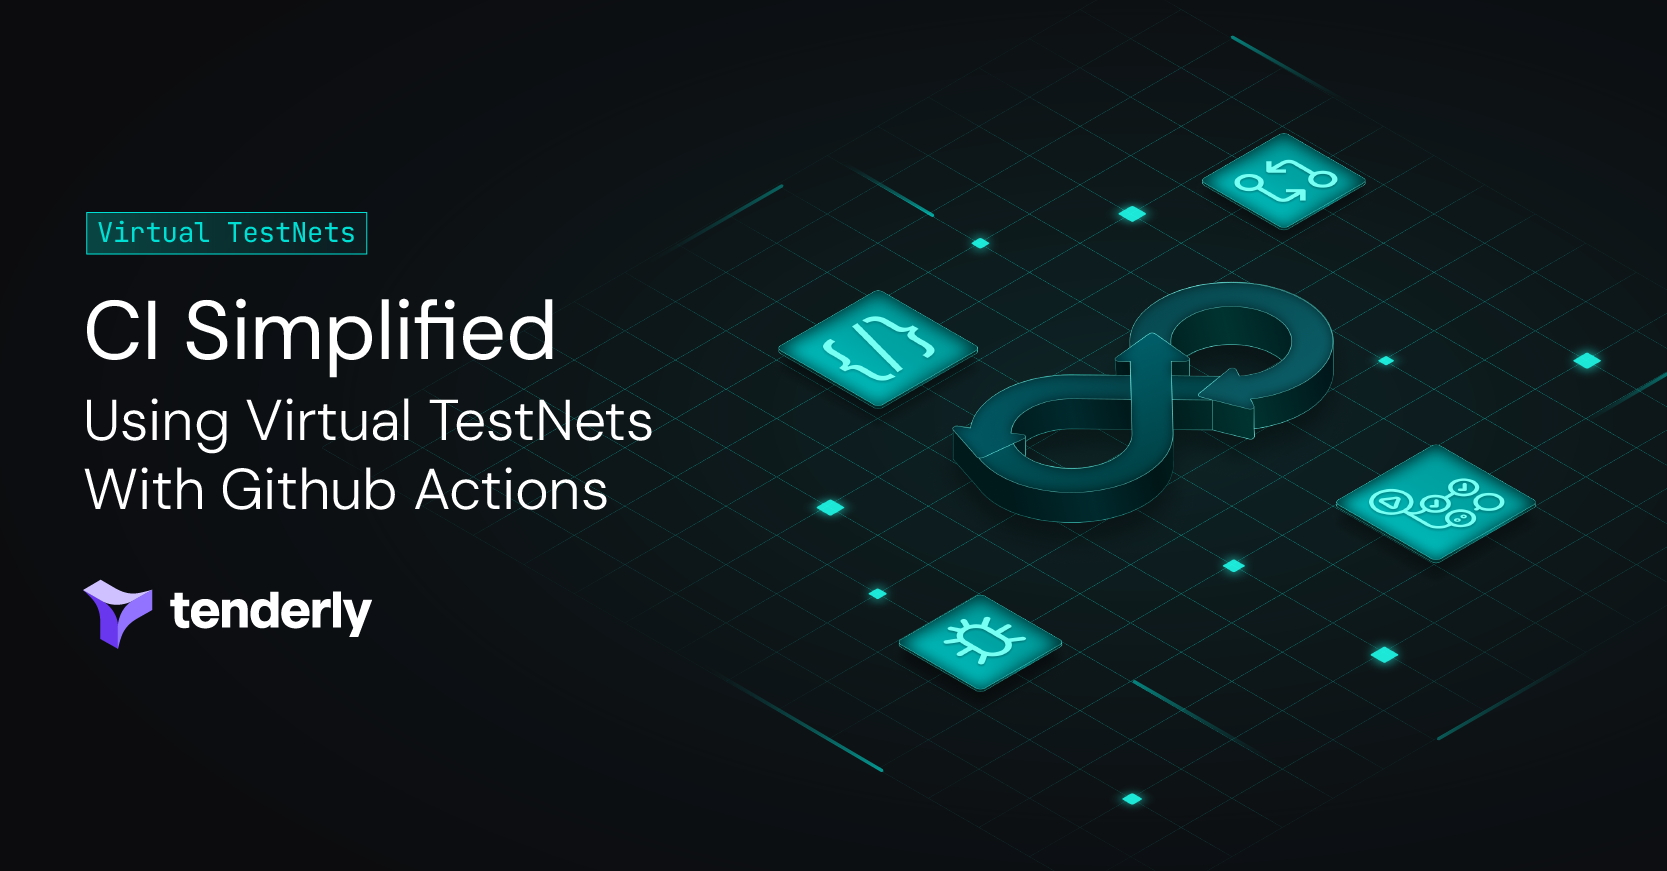
Why use Virtual TestNets in CI
Integrating Virtual TestNets into your CI pipeline gives you zero-setup, development environments for automating smart contract deployments and testing code changes. You can even test end-to-end dapp integrations by staging your smart contracts, frontend, and backed components on a Virtual TestNet.
Using Virtual TestNets in your CI pipeline eliminates the overhead of local node and public testnet management for your team. You can simplify the entire CI setup with a GitHub Action that automatically provisions a brand-new Virtual TestNet environment synced with mainnet data.
This way, you can set up a fast, reproducible CI pipeline for your Hardhat tests, enabling:
- Complex testing use cases: Virtual TestNets sync with the latest mainnet state, providing up-to-date on-chain data in real time. With complete mainnet data, you can test real-world integrations with oracles, LP providers, exchanges, and indexers, validating complex DeFi interactions under realistic conditions.
- Fast, automated deployments: Virtual TestNets enable near-instant deployments and transaction execution. Instead of writing extensive scripts, you can focus on your CI workflow file while a Github Action provisions a new Virtual TestNet per PR. You can then automate deployments for each code push and run unit, smoke, or integration tests for every change commit or pull request.
- SUDO mode over environment state: Using Tenderly’s custom RPC methods, you get full control over your environment to test custom scenarios. For instance, you can increase the block number or time to test governance proposals, manipulate storage to override on-chain values, and even revert states between different test runs.
- Get unlimited test assets: Virtual TestNets come with an unlimited faucet for native and ERC-20 tokens that you can use through the Dashboard or with custom RPC methods. Aside from topping up any wallet, you can set custom token balances for specific accounts or contracts.
- Privacy during early development: With Virtual TestNets, you can deploy and verify your contracts privately during early development. This way, you don’t have to use local nodes that limit your testing capabilities or deploy to public testnets that reveal your code publicly before it’s ready.
- Efficient debugging and collaboration: Whenever a test fails, open a Virtual TestNet with a built-in private explorer and debugging tools to troubleshoot a bug. Inspect a failed transaction with the most detailed stack and error trace, jumping to a revert on the exact line of code. Even share a link directly to the revert with your team to fix the issue and then commit code changes to test them out.
How to set up a CI pipeline on Virtual TestNets with GithHub Actions
The easiest way to set up your CI infrastructure on Virtual TestNets is to use a GitHub Action that automatically provisions a new Virtual TestNet for your CI runs. Use this GitHub Action to integrate Virtual TestNets with Hardhat and set up an efficient CI pipeline for automated testing.
To set up your CI pipeline, you need to complete a few simple steps:
- Create a GitHub workflow file
- Include and configure the
@tenderly/vnet-github-action - Set up steps to test your Hardhat project
- Connect Hardhat to Virtual TestNets
To get started, take a look at this sample GitHub workflow setup:
name: Hardhat Pipeline
on: [push, pull_request]
env:
  DEBUG: '@tenderly/github-action'
  ## Needed available as env variables for Hardhat.config.js
  TENDERLY_PROJECT_NAME: ${{ vars.TENDERLY_PROJECT_NAME }}
  TENDERLY_ACCOUNT_NAME: ${{ vars.TENDERLY_ACCOUNT_NAME }}
jobs:
  test:
    runs-on: ubuntu-latest
    steps:
      - uses: actions/checkout@v4

      - name: Setup Node.js
        uses: actions/setup-node@v4
        with:
          node-version: '20'
          cache: 'npm'

      - name: Setup Virtual TestNet
        uses: Tenderly/vnet-github-action@v1.0.6
        with:
          access_key: ${{ secrets.TENDERLY_ACCESS_KEY }}
          project_name: ${{ vars.TENDERLY_PROJECT_NAME }}
          account_name: ${{ vars.TENDERLY_ACCOUNT_NAME }}
          testnet_name: "Staging TestNet"
          network_id: 1
          chain_id: 1
          state_sync: true
          public_explorer: true
          verification_visibility: bytecode

      - name: Install dependencies
        run: npm install

      - name: Run Tests
        run: npm run test:vnet
        working-directory: examples/Hardhat-ignition

      - name: Deploy Contracts
        run: npm run deploy:vnet
        working-directory: examples/Hardhat-ignition
After the step “Setup Virtual TestNet” completes, the RPC link will be in the environment variable TENDERLY_ADMIN_RPC_URL that you need to reference from your hardhat.config.ts.
Once you run your tests and the action finishes, the Tenderly/vnet-github-action will pause the Virtual TestNet, turning off the RPC automatically. While you cannot further run tests on this Virtual TestNet, all your transaction data is available for inspection and analysis, allowing you to identify any potential bugs.
If any of your Hardhat tests fail, you can find the failed transaction in the dev-friendly Tenderly Dashboard. Virtual TestNets come with a built-in private explorer and debugging tools, enabling you to troubleshoot the issue as soon as a test fails.
Automate CI testing on zero-setup dev infrastructure
Replace resource-consuming infrastructure management with zero-setup Virtual TestNets. Virtual TestNets integrate seamlessly with your existing frameworks, bringing automated deployments and near-instant execution to your development and testing workflows.
By using the GitHub Actions for Virtual TestNet CI infrastructure, you can quickly set up mainnet-based environments for CI testing and automate the entire process while getting full on-chain data. To get started, try forking a chain within milliseconds!